In this third installment of the series (see Part 1 & Part 2), we are going to add a few more tools to your toolbox. In this case, these tools will assist with writing code. You see, eventually you are going to stumble on GitHub projects where editing configuration files or modifying code will become necessary. Whether you are working with Python, Java, YAML, or JSON, having a decent code editor that can help highlight errors, correct file formatting, or do debugging is a massive help.
This is where Visual Studio Code (VS Code for short) comes into play. VS Code is a free, open-source code editor created by Microsoft that has a ton of extensions that can assist with most anything. However, don’t confuse “Visual Studio Code” with “Visual Studio“. Visual Studio is a full-fledged Integrated Development Environment (IDE) geared towards large-scale enterprise software development, while Visual Studio Code is the lightweight, scaled-down, younger sibling.
If I am being honest, although I studied computer science in college, since I came from a systems administrator background, I wasn’t really ever exposed to all of the various software development tools that are commonly available. When I had to tweak config files or write scripts, I was still using Notepad (sometimes even Notepad++). It wasn’t until I took my Python refresher course that the instructor recommended installing a good code editor such as VS Code or PyCharm. (While PyCharm looked really good, I eventually settled on VS Code because to me PyCharm just seemed only specialized for Python code.) Regardless, since installing VS Code, I haven’t looked back. In my opinion, the best part about VS Code is that it seamlessly integrates with WSL, so you can write and execute Python code within Ubuntu, right from your Windows desktop.
So, since many of you that are probably in the same boat as I was, I am going to show how to get started with VS Code. Keep in mind, even though they say VS Code is lightweight, it is still a pretty robust product, so this isn’t going to be an exhaustive tutorial. If you want to learn the ins and outs of VS Code, I suggest you subscribe to the Visual Studio Code YouTube Channel.
Let’s get started!
Downloading and Installing VS Code
First things first, go over to Microsoft’s page and download Visual Studio Code, and then run through the installation wizard. The installer is very much a “Next, Next, Next, Install”, type of installer, so that should be very straightforward.
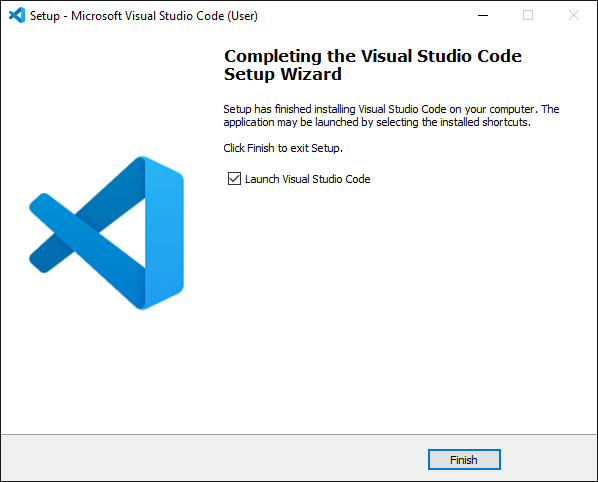
When it is done, clicking Finish should launch VS Code for the first time.
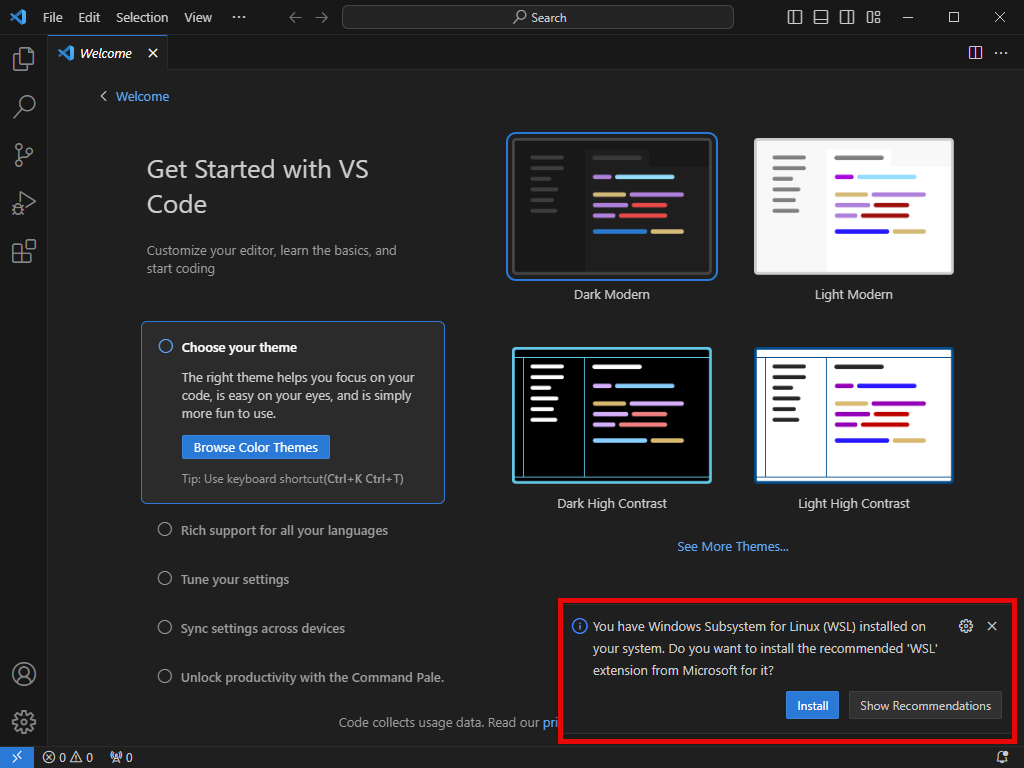
When it opens, it will automatically detect WSL running on your computer, and suggests installing the extension. This extension automatically installs an agent into Ubuntu so that you can seamlessly edit files within your WSL instance.
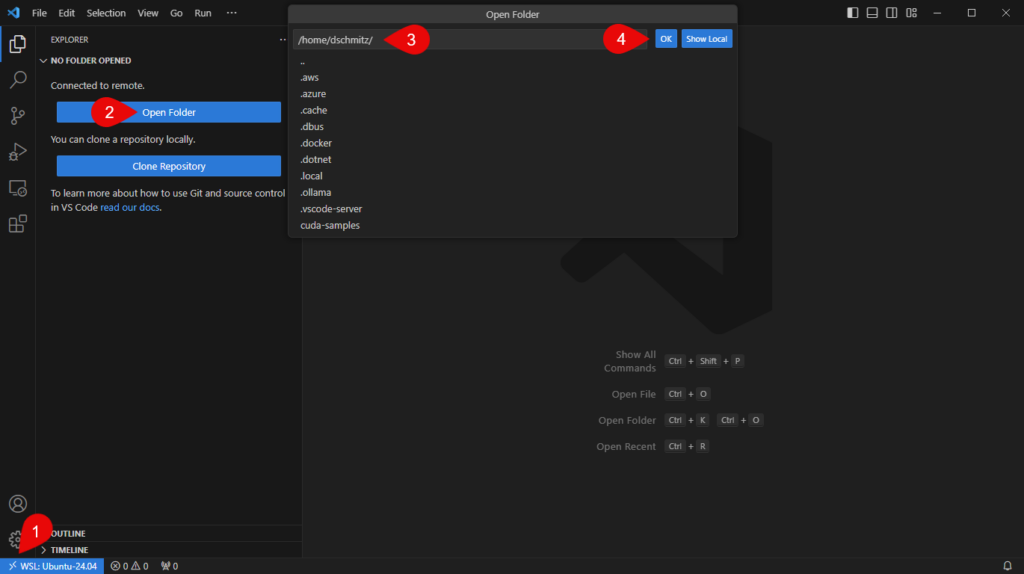
Once the WSL extension completes, it should automatically connect to your WSL instance. However, if it doesn’t, you can click the blue connect icon in the bottom left hand corner of the screen (1), Connect to WSL (not shown). Once connected click on Open Folder (2), select which folder you want to open (3), and then click OK (4).
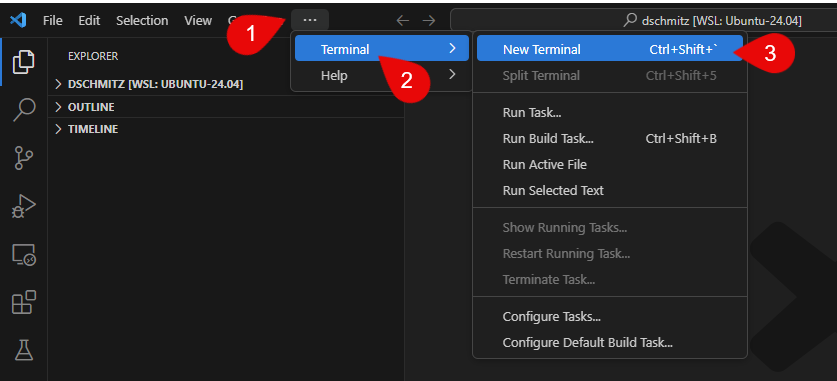
I also find it helpful to have a terminal window opened (within VS Code) for running commands and watching the output from programs. To open one or more terminals, click the three dots (1), then Terminal (2), and then New Terminal(3). This will keep you from having to switch back and forth from your Windows Terminal window app we installed previously.
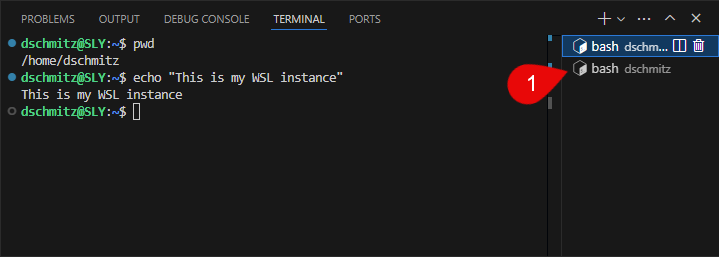
NOTE: If you want multiple terminal windows, opening a second or third terminal will appear on the side bar (1).
Now, with the VS Code window panes organized, we can start downloading some extensions to help us out. Keep in mind, some of the extensions can be installed in Windows, while some of them can be installed inside Ubuntu. For example, since Ubuntu already has Python installed by default, you could install the Python extension for Windows too. I also recommend installing things like the Jupyter notebook extension and any other language extensions that you would like to experiment with.
For the last part of this tutorial, let’s create a Python program to make sure everything is working. To begin, let’s create a new Python file.
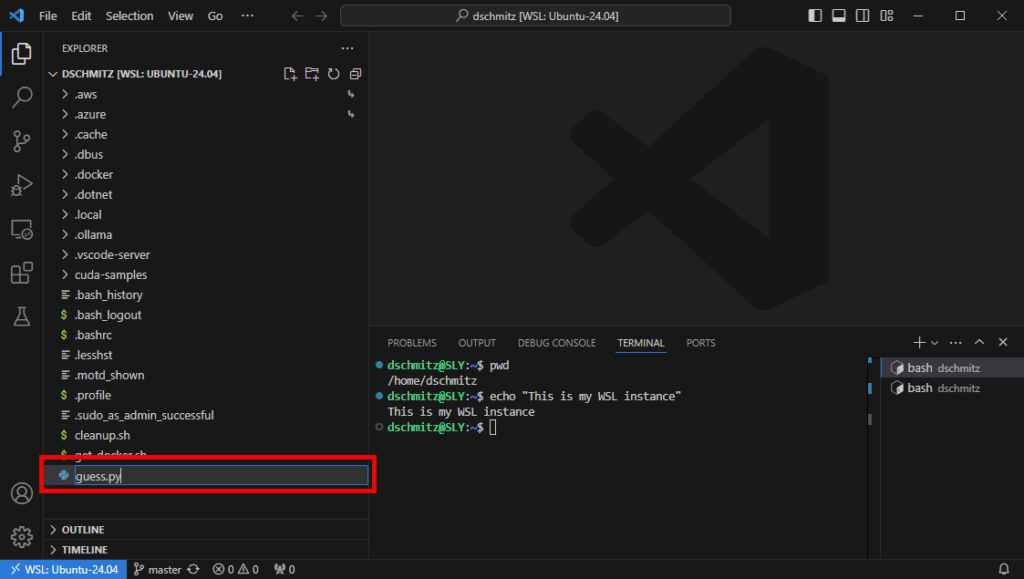
I like to right click somewhere in the blank area of the Explorer section, and select New File. Name it guess.py. Once the new file is created, cut and paste in the following Python code, then save it with a CTRL+S.
import random
guesses_made = 0
name = input('Hello! What is your name?\n')
number = random.randint(1, 20)
print('Well, {0}, I am thinking of a number between 1 and 20.'.format(name))
while guesses_made < 6:
guess = int(input('Take a guess: '))
guesses_made += 1
if guess < number:
print('Your guess is too low.')
if guess > number:
print('Your guess is too high.')
if guess == number:
break
if guess == number:
print('Good job, {0}! You guessed my number in {1} guesses!'.format(name, guesses_made))
else:
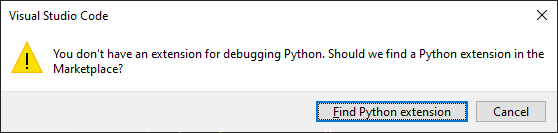
print('Nope. The number I was thinking of was {0}'.format(number))At this point you have two options. You can press CTRL+F5 if you just want to run the python code, or you can press F5 by itself to run the Python code with a debugger.
Note: VS Code will prompt you to install a Python Debugger extension the first time you press F5 (see below).
Once your Python program is running, go on and enter your name, and try to guess the number.

Congratulations! You have run your first Python program!
When it comes to languages, Python is widely used for Artificial Intelligence, so I highly recommend you take a Python course. You don’t even have to spend any money (unless you want to, of course). There are plenty of Full Python Courses on YouTube available to choose from.
If you have prior programming experience, you can probably get by with one of the the 4-5 hour courses like Matt’s, or Beau’s. (I originally did Matt’s course, but if I were to do it again, Beau’s course seems more thorough.)
However if you have never done any programming before, you might want to browse through the selection I mentioned previously to find something you feel comfortable with.
Extra Credit: Download the deepseek-coder-v2, codellama, or starcoder2 LLMs into Ollama, start an Open WebUI chat window, and ask it to write you a Python program to do something useful (or fun). Paste the result into VS Code, run it, ask the LLM about any errors, and keep going until your program works. [One guy I follow on YouTube loves to have LLMs write the game “Snake” in Python. Hint: Ask “How do I create the game snake in python in Ubuntu?”] 🙂
Conclusion
In this series, we have accomplished a lot for getting our AI playgrounds established. In my opinion, all of these things are fundamental building blocks for future things I want to show you. I realize that installing a code editor isn’t ground-breaking stuff, but I think it is important to meet everyone where they are at, so that I can bring everyone along with me. (I mean, just a year ago VS Code was new to me, so I can’t be alone, right?)
Bringing the series all together, so far:
- Part 1 – We installed Windows Terminal, WSL, and got all of our WSL settings configured.
- This was to get an Ubuntu Linux environment, because (most) all of the cool GitHub AI projects are designed for Linux.
- Part 2 – We installed Ollama, Docker, and Open WebUI.
- This installed an LLM engine and a Docker containerized LLM chat web interface running locally on your computer.
- This is the question/answer engine for learning Linux commands or helping write or debug Python code.
- Part 3 – You are here! This post installed VS Code and tested a sample Python program
- A code editor will help us write Python code and edit JSON for configuration files, data manipulation, and tuning models. (and it is way better than Notepad!) 😀
Tune in next time for the next part in the Building your AI playground series!
Next up: Building your AI playground (Part 4) – Duplicati and MinIO